A cardiac nurse once told me about a patient who nodded along to an informed-consent video, then whispered afterward, “I caught the big picture, but I missed the words in between.” He had mild hearing loss and English wasn’t his first language. He didn’t need more content—he needed clearer, accessible content.
In medicine, informed means understood. If your patient education or consent videos aren’t captioned well—and supported by accurate transcripts—you risk confusion, delays, and preventable errors. Here’s how to build accessibility into the DNA of your videos, with practical steps you can implement today.
Why accessible consent videos matter
– Patients process information under stress. The combination of anxiety, noise, and time pressure reduces retention. Captions and transcripts let viewers pause, re-read, and review later with family.
– Accessibility supports everyone. Captions help people who are Deaf or hard of hearing, non-native speakers, and anyone watching in a noisy clinic or on a quiet ward at night.
– Clarity reduces risk. Plain-language captions and accurate transcripts minimize misinterpretation and improve documentation of what was communicated.
– Education is shared. A transcript can be added to the patient portal, printed for bedside review, or translated—all from a single, accurate source.
Captioning and transcript best practices for patient education
1) Write for understanding, not for the exam
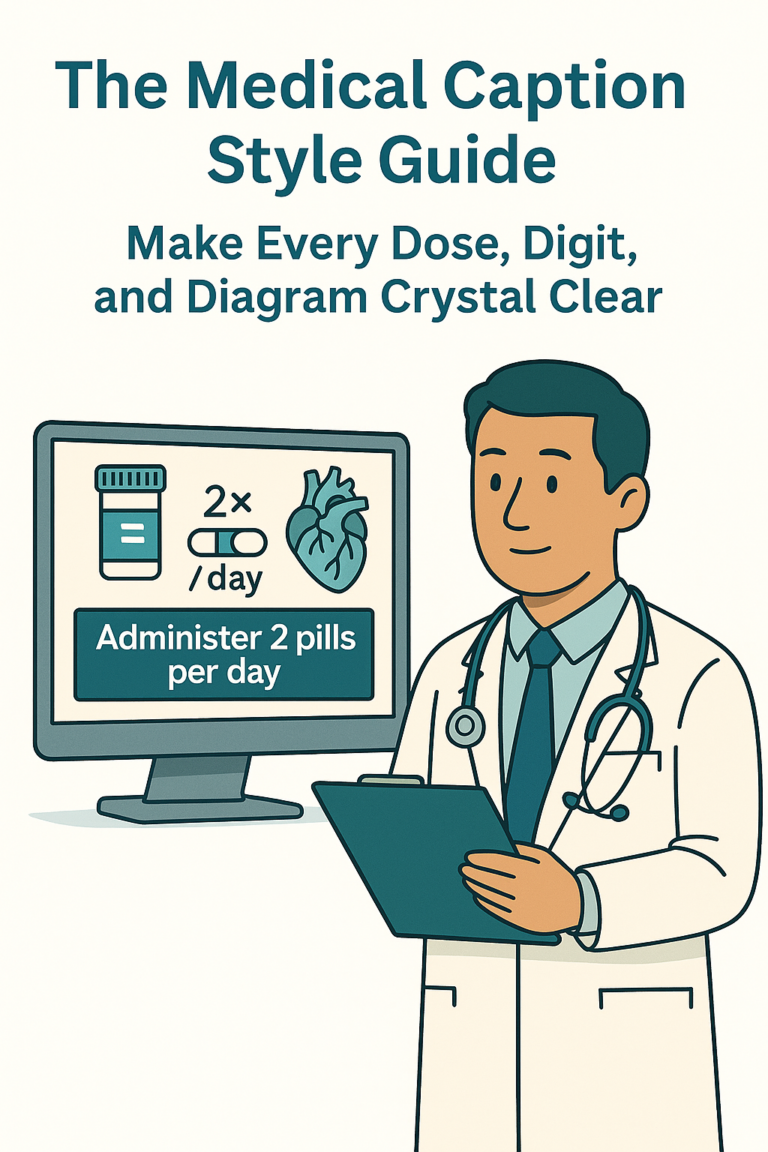
– Aim for plain language. Replace “administer” with “give,” “contraindicated” with “not safe,” and define essential terms in simple phrases.
– Use short sentences. One idea per sentence is easier to caption, read, and remember.
– Anchor with purpose. Start sections with why the information matters to the patient.
2) Caption like a clinician and an editor
– Keep captions readable: usually 1–2 lines per caption, brief enough to read comfortably before the next one appears.
– Sync with speech, not slides. Time captions to when words are spoken; don’t stack multiple concepts in one caption.
– Include non-speech audio when meaningful: “monitor beeping,” “ultrasound whoosh,” or “nurse speaking off-screen.” These cues provide context.
– Be consistent with medical terms. If you use a term, use it the same way every time. Provide a parenthetical explanation the first time it appears, e.g., “angiogram (an X-ray of blood vessels).”
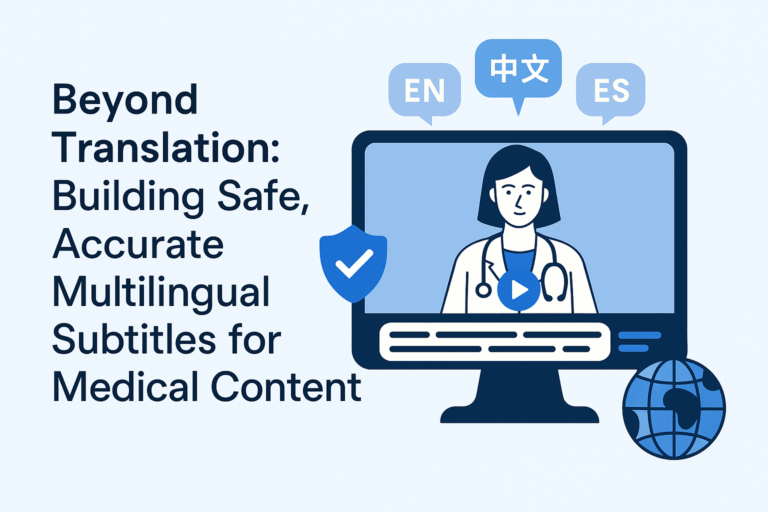
3) Design for multilingual reality
– Create a master transcript first. This becomes the source for quality translations and captions in other languages.
– Use a standard glossary for drug names, brand/generic pairs, and procedure terms to ensure consistency across languages.
– Avoid idioms and culture-specific references; they rarely translate cleanly.
4) Make transcripts do more
– Add section headings, key points, and a brief summary at the top.
– Include a “Questions to discuss with your clinician” box derived from the content.
– Provide links to reputable patient resources for further reading.
5) Quality-check like a safety step
– Medical accuracy: names of drugs, doses, laterality, and procedure steps match the script or recording.
– Readability: captions are legible and on-screen long enough to read without rushing.
– Inclusivity: language is respectful, empathetic, and free of jargon where not necessary.
A simple workflow with MedXcribe
MedXcribe is fine-tuned on medical data, so it recognizes clinical terms and drug names more accurately than general tools. Here’s a streamlined workflow teams use for consent and education videos:
– Draft your script or record your narration. Keep it conversational and focused.
– Upload audio or video to MedXcribe. Use custom vocabulary to lock in critical terms—drug names, procedure titles, device brands.
– Generate your transcript with automatic timestamps and speaker labels. MedXcribe’s medical focus reduces misheard terminology, which means less cleanup.
– Edit for clarity. Tighten sentences, add first-use definitions, and flag any terms to double-check with your clinical lead.
– Export captions (SRT/VTT) and a clean transcript (DOCX/TXT). These can be uploaded to your video platform, embedded in your LMS, or placed in the patient portal.
– Run a quick QA pass. Have a clinician and a patient advocate or educator review the captions and transcript. Look for medical accuracy and readability.
– Localize. Translate from your master transcript to the languages your patients use most. Re-import translated captions to your video and provide the translated transcript as a handout.
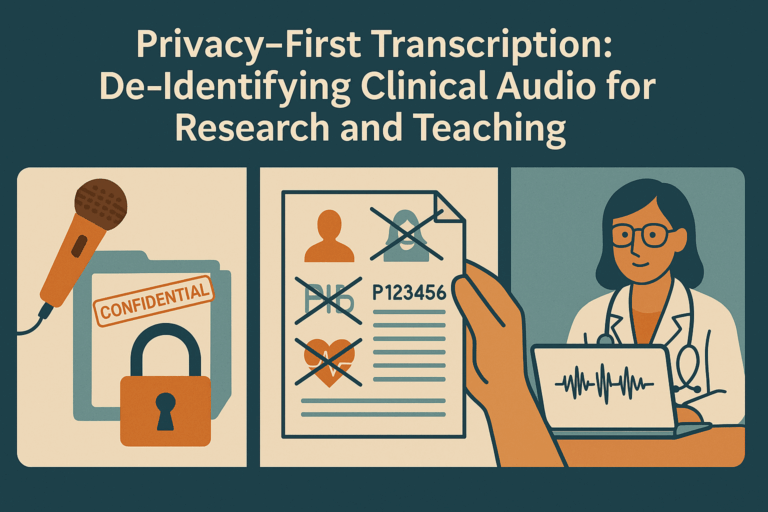
Privacy tip: If your videos include patient voices or stories, obtain consent and follow your organization’s privacy policies. When possible, use de-identified scenarios and avoid including PHI in captions or transcripts.
A captioning checklist you can copy today
– Purpose stated up front (why this video matters to the viewer)
– Plain language with first-use definitions for essential terms
– Accurate medical terminology and consistent naming
– Captions timed to natural speech, 1–2 short lines each
– Non-speech audio cues when relevant to understanding
– Master transcript with headings, key points, and next steps
– QA by a clinician and an educator/patient advocate
– Translations from the master transcript, not from auto-CC alone
The takeaway
Accessible consent and patient-education videos aren’t just “nice to have.” They are safer, clearer, and more equitable. When patients truly understand, they participate more confidently, and teams communicate with fewer gaps.
Ready to transform your next video? Try generating a medically precise transcript and captions with MedXcribe, then run the checklist above. One upload, clear captions, and a transcript patients will actually use—because informed should always mean understood.

