If you’ve ever strained to decipher a muffled dosage or missed a critical value in a tumor board recording, you know this truth: audio quality can make or break a transcript. A cardiology fellow once told me their first attempt at captioning grand rounds was useless—HVAC roar, clattering keyboards, people talking over one another. The fix wasn’t a new tool; it was audio hygiene. Two small changes—quiet room, better mic placement—transformed chaos into clean, searchable notes.
This guide shows how to capture cleaner sound so your transcripts, captions, and clinical documentation are accurate from the start. The payoff? Fewer corrections, faster turnaround, and accessible learning for your team and patients.
Set the stage: room and gear
Choose the right room: Avoid hallways and open wards. Pick carpeted or soft-furnished rooms that absorb sound. Sit away from vents, projectors, and windows facing traffic.
Quiet the noise: Mute laptops, silence phones, and ask speakers to remove jangly name badges. Place a folded jacket under laptops to dampen desk vibration.
Pick a practical mic: A simple wired lavalier clipped to a collar, a USB desktop mic 6–12 inches from the speaker, or a small conference mic for roundtables beats a laptop mic every time. Wired tends to be more reliable than Bluetooth.
Phone recordings can work: If you must use a phone, put it in airplane mode, use a voice memo app set to a standard format (WAV or high‑quality M4A), and place it on a soft surface 6–12 inches from the speaker.
Keep levels healthy: Do a 10‑second test. If the waveform is a thin line, move the mic closer. If it clips or crackles, back off. Consistency matters more than loudness.
Record like a pro: technique and workflow
Structure your dictations: Use a simple template—Indication, Pertinent History, Exam/Imaging, Impression, Plan. Announce each header out loud. It boosts readability and helps AI segment content cleanly.
Say the specifics clearly: For numbers, repeat once (“potassium four point two, repeat four point two”). For uncommon drug names or eponyms, speak a quick spell-out the first time (“ceftaroline—c‑e‑f‑t‑a‑r‑o‑l‑i‑n‑e”).
Pace for precision: Slightly slower speech with natural pauses improves recognition. Avoid reading from papers with constant page rustling; pause before turning pages.
Manage group discussions: Nominate a moderator to enforce one‑at‑a‑time speaking. Before a new speaker begins, have them state their name and role (“Dr. Kim, radiology”).
Mark moments: Clap once to mark the start, then state the session title and date. Use short verbal markers like “new section” or “action item” to flag decisions. These cues become anchors in the transcript.
Keep the mic stationary: Moving a mic mid‑sentence changes distance and tone, increasing error rates. If you must hand it off, pause first.
Think captions as you speak: For educational videos or patient explainers, use complete sentences and avoid pointing words like “this” or “that” without context. Captions should stand on their own for viewers who can’t see the slide or hear the tone.
Protect privacy while you record
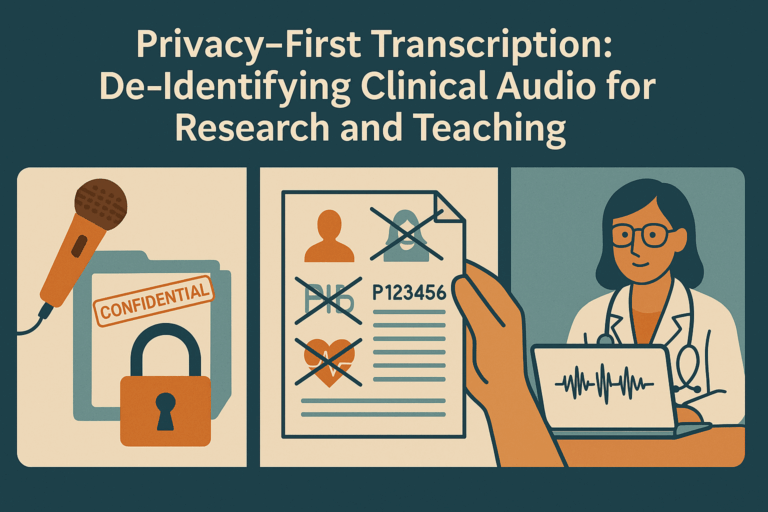
– Capture only what you need: For teaching sessions, de‑identify cases. Avoid full names and birth dates; refer to “Patient A” or “the 62‑year‑old” per your institution’s policy.
– Control the space: Post a sign outside the room indicating recording in progress. Close doors; avoid speakerphones.
– Store securely: Follow your organization’s policies for storing raw audio and transcripts. Limit who has access, and delete files you no longer need.
– Obtain permissions: Ensure speakers and participants are aware of recording and agree per local policy. Document the permission at the start of the recording.
Turn clean audio into clinical value with MedXcribe
Clear inputs unlock the best of AI. MedXcribe is fine‑tuned on medical language, so it recognizes terminology, abbreviations, and fast clinical speech with high accuracy—especially when the audio is clean. Use it to:
1. Generate precise transcripts of lectures, tumor boards, and telehealth sessions for quick review and search.
2. Create closed captions and subtitles for medical videos to meet accessibility needs and improve comprehension for deaf and hard‑of‑hearing viewers, ESL learners, and busy clinicians.
3. Convert dictated notes into consistent text that’s easier to proofread and integrate into your workflow.
A quick checklist you can use today
Room: quiet, soft surfaces, away from vents
Mic: wired lavalier or desktop mic; phone in airplane mode if needed
Distance: 6–12 inches from the speaker, fixed position
Test: 10‑second level check before you begin
Structure: verbal headers, speaker names, action markers
Privacy: de‑identify, notify participants, store securely
Conclusion: Your next recording can be your best
Great transcripts start before you hit “record.” With a few audio hygiene habits, you’ll spend less time fixing errors and more time learning, teaching, or caring for patients. Try a 5‑minute pilot today: pick a quiet room, use a simple mic, follow the checklist, and upload to MedXcribe. Compare the results to your usual process—you’ll hear the difference, and you’ll see it in your transcripts.
Ready to put clean audio to work? Record a short session this week and let MedXcribe turn it into clear, accessible text and captions your whole team can trust.

