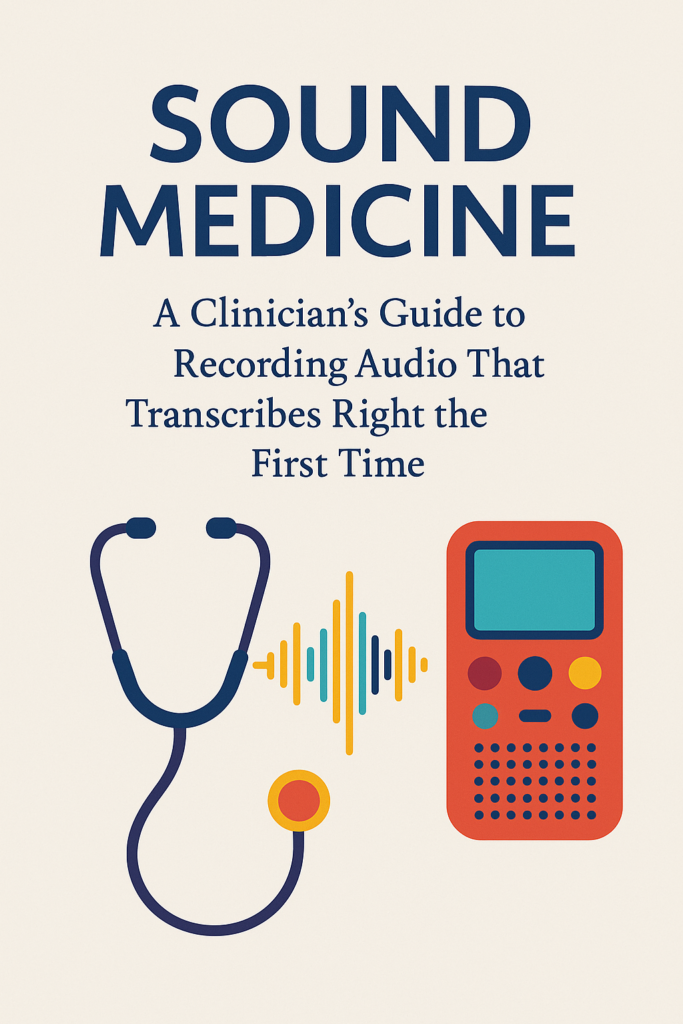
Sound Medicine: A Clinician’s Guide to Recording Audio That Transcribes Right the First Time
Dr. Rao used to dictate on the walk from radiology to clinic. Elevators, hallway chatter, and the crinkle of a lab coat turned every transcript into a scavenger hunt. One quiet room and a $25 clip-on microphone later, his notes arrived clean, on time, and ready to sign. The difference? Not magic—just better audio. Good input makes great transcripts. Whether you’re dictating clinic notes, recording tumor boards, or creating teaching videos, the way you capture sound determines how much time you’ll spend fixing it later. Here’s a quick, practical guide to help your words reach the page accurately and effortlessly. Why audio quality matters in medicine Accuracy is clinical: Misheard doses and drug names aren’t typos—they’re risks. Even with a medically tuned engine like MedXcribe, noisy audio can blur 15 vs. 50, or Zyrtec vs. Zyrtec-D.Time is money (and sanity): Cleaner audio means fewer corrections, faster turnaround, and less burnout for clinicians, students, and transcription teams.Compliance and credibility: Clear, complete records help with audits, medico-legal questions, and continuity of care. They also build trust in your workflows and tools. The clinical audio playbook 1) The room: set the stage– Pick quiet over convenient: Close the door. Avoid HVAC vents, corridors, and open nurse stations.– Soften the space: Fabric matters. A coat on a chair, curtains, or a carpet reduces echo.– Post a pause sign: A “Recording in progress” note or a door indicator prevents interruptions.– Reduce device noise: Silence phone alerts and disable keyboard clicks. 2) Your voice: be your own narrator– Mic distance: Keep a consistent 6–8 inches from your mouth (or follow your headset’s guidance). Don’t swing the mic.– Pace and enunciate: Slightly slower than conversation. Pause between sections (e.g., History, Exam, Plan).– Be explicit with numbers: Say “one five milligrams” for 15 mg; “fifty five zero” for 50; clarify units.– Spell or anchor rare terms: “Abemaciclib—A, B, E, M…” or “Xgeva, denosumab.” First mention only, then use short form.– Read punctuation where needed: For addresses, emails, and drug titration schedules, brief punctuation cues help.– Use a template: Consistent structure boosts accuracy. Example flow: Chief complaint, HPI, PMH, Meds, Allergies, ROS, Exam, Labs/Imaging, Assessment, Plan. 3) Devices and settings: right tool, right setup– Choose your mic wisely:– Best: Wired headset or wired lapel (lav) mic—reliable and close to your voice.– Good: USB desktop mic positioned near you, away from the desk edge (to avoid thumps).– Avoid: Laptop speakerphone far away; room mics in echoey spaces.– Check levels: Aim for healthy volume without peaking. Do a 10-second test and listen back.– File format: WAV or high-quality MP3/M4A at 16 kHz or higher sample rate; mono is fine for solo dictation.– Power and backup: Charge devices. If you record on a phone, use Airplane Mode to avoid call interruptions. 4) Workflow hygiene: the habits that save hours– Consent and PHI: If recording patient interactions or meetings, follow your institution’s policy. Obtain consent where required. Avoid unnecessary identifiers.– File naming: Use simple, consistent patterns. Example: 2025-10-01_RheumClinic_Rao_H&P.wav (No MRNs in file names unless policy allows.)– Speaker cues: For multi-person audio, introduce speakers at the start: “Moderator Dr. Chen; speakers Dr. Patel, Dr. Gomez.” Encourage one-at-a-time talk.– Time stamps for anchors: When discussing imaging or labs, it helps to say, “At minute two, CT findings.” This aids quick review and linking.– Close strong: End with a brief summary: diagnoses, plan, follow-up. It improves both transcripts and clinical clarity. Teams and teaching: meetings, tumor boards, simulations, and research Multi-speaker conversations are valuable—and challenging. A few tweaks elevate results dramatically.– Mic strategy: One quality tabletop mic in a quiet room beats several distant laptops. For larger rooms, consider two boundary mics placed centrally. Avoid placing mics next to snack bowls, laptop fans, or paper stacks.– Turn-taking norms: Ask participants to wait a beat before speaking, and to say names for the first few turns. Have the moderator restate questions before answers.– Remote participants: Use a single stable conferencing setup. If possible, record separate audio tracks for remote and in-room participants—MedXcribe handles diarization better with cleaner channel separation.– Slides and references: Verbalize slide titles, figure numbers, and key terms. “Moving to Slide 12, RECIST criteria.” This anchors the transcript to the content.– Research and IRB: For interviews or focus groups, confirm consent language covers audio recording and AI transcription. De-identify promptly if sharing for teaching.– After-action capture: In simulation labs, speak the debrief header out loud: “Scenario 2, hyperkalemia, debrief begins.” These cues make transcripts instantly navigable. A one-minute preflight checklist – Quiet room, door closed, notifications off– Mic connected and positioned; 10-second test recorded and reviewed– File named with date_context_speaker– For groups: participants introduced; one-at-a-time rule set– Summary planned for the close Why this matters even with MedXcribe MedXcribe is fine-tuned on medical language—drug names, eponyms, acronyms, and specialty jargon. It handles tough audio better than general tools. But the laws of acoustics still apply. Cleaner recordings unlock the full accuracy of a medically trained engine, reduce edits, and get your words into charts, captions, and learning materials faster. Takeaway and next step Better audio is the simplest upgrade you can make to your transcription workflow. Start with one change today—a quiet room or a wired mic—and watch your edits shrink. Ready to see how clear audio pairs with medical-grade accuracy? Upload your next dictation or meeting to MedXcribe and experience transcripts that read right the first time.